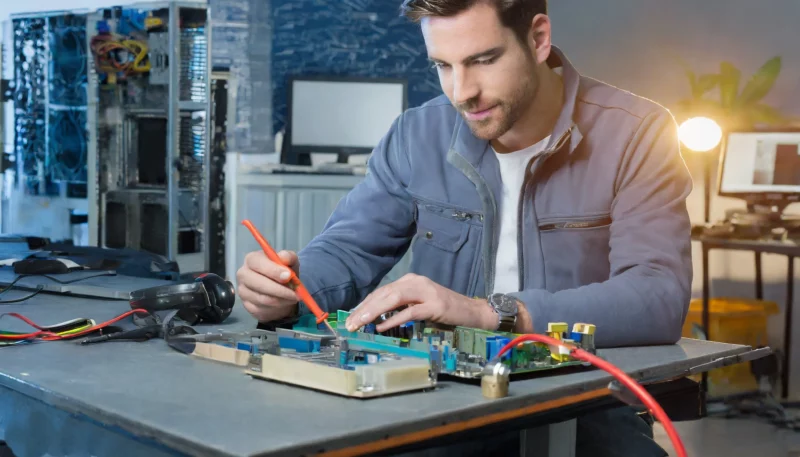
When encountering issues with your computer, one of the key components to troubleshoot is the motherboard. Testing a motherboard might seem like a daunting task, but with the right guidance, it becomes a manageable process. In this comprehensive guide, we will delve into various methods on how to test a motherboard effectively, ensuring you can diagnose and address any potential issues.
Understanding the Importance of Motherboard Testing
The motherboard is the central hub of your computer, connecting and facilitating communication between various components such as the CPU, RAM, GPU, and storage devices. If the motherboard malfunctions, it can lead to a range of issues, from system instability to complete failure. Testing the motherboard is crucial for identifying problems early on and ensuring the overall health of your computer.

Motherboard Testing Without a CPU
Before diving into complex testing methods, start with a visual inspection. Check for any physical damage, burnt areas, or loose components on the motherboard. A damaged motherboard might exhibit noticeable signs, helping you identify issues at a glance.
Power Supply Testing
- Disconnect all Components: Unplug all peripherals, RAM, and expansion cards from the motherboard.
- Power Supply Connection: Connect the power supply to the motherboard .
- Power On: Turn on the power supply. If the motherboard’s LED lights up, it indicates that the power supply is functioning, and the motherboard is receiving power.
Listen for Beep Codes
- Remove RAM Modules: With the power off, remove all RAM modules from their slots.
- Power On: Turn on the computer. If the motherboard produces beep codes, it suggests that it is attempting to boot. The absence of beep codes may indicate a faulty motherboard.
Testing with a Multimeter
- Power Off: Ensure the computer is turned off and unplugged.
- Multimeter Setup: Set the multimeter to measure DC voltage.
- Check Power Supply Rails: Measure the voltage across various power supply rails (e.g., +12V, +5V, +3.3V). Deviations from standard values may indicate a problem.
Complementary Metal Oxide Semiconductor Battery Test
- Locate CMOS Battery: Find the CMOS battery on the motherboard.
- Multimeter Setup: Set the multimeter to measure DC voltage.
- Measure Voltage: Place the multimeter probes on the battery terminals. A healthy CMOS battery should read around 3 volts.

Checking Motherboard Health with POST Test
Here’s a guide to help you understand and perform a POST test:
- Connect Essential Components: Install only the essential components – CPU, one stick of RAM, and the power supply.
- Power Off and Unplug: Before performing a POST test, ensure your computer is completely powered off. Unplug the power cord from the electrical outlet to ensure safety.
- Basic Components: Disconnect unnecessary peripherals such as printers, external drives, and non-essential USB devices. Leave only the essential components connected, including the motherboard, CPU, RAM, and power supply.
- Visual Inspection: Perform a visual inspection of the internal components. Ensure all cables are securely connected, and there are no loose connections or damaged components.
- Power On: Plug in the power cord and turn on your computer. Observe the startup process and listen for any unusual beeping sounds. These beeps are part of the POST process and can indicate issues with specific hardware components.
- Understanding Beep Codes: Different motherboard manufacturers use beep codes to communicate hardware issues. Refer to your motherboard’s manual to interpret the meaning of specific beep patterns. For example, a continuous beep might indicate a RAM issue.
- Checking Display: Ensure that your monitor is connected and turned on. The POST process should display information on the screen, including details about your hardware and any detected issues.
- RAM Test: One common cause of POST failures is faulty RAM. If you have multiple RAM modules, try booting the system with one module at a time. This helps identify if a specific RAM stick is causing the issue.
- Reseating Components: Turn off the computer and unplug it again. Re-seat the RAM modules, graphics card, and any other expansion cards. This ensures a secure connection and can resolve issues caused by loose components.
BIOS/UEFI Check
Learn how to check your computer’s BIOS or UEFI with this step-by-step guide.
- Access BIOS/UEFI: Boot into the BIOS/UEFI settings.
- Check System Information: Look for any error messages or warnings in the system information section. Anomalies here may indicate a faulty motherboard.
Testing Without the Case Breadboarding
- Remove from Case: Take the motherboard out of the computer case.
- Minimal Configuration: Set up the motherboard on a non-conductive surface with only essential components connected (CPU, RAM, power supply).
- Power On: Turn on the system. This isolates the motherboard from potential grounding issues caused by the case.
External Display Test
- Connect External Monitor: Use an external monitor instead of the onboard graphics.
- Power On: Boot the system. If the external display works while the onboard one doesn’t, it may indicate a motherboard issue.
How can I test a motherboard without a CPU?
While a CPU is integral to most testing methods, a visual inspection, power supply test, and listening for beep codes are viable methods without a CPU.
How to check if a motherboard is faulty?
Perform a POST test, check BIOS/UEFI for error messages, and use a multimeter to measure voltages. Additionally, listening to beep codes and inspecting for physical damage can reveal faults.
Can I test a motherboard without a case?
Yes, you can perform a breadboarding test by setting up the motherboard on a non-conductive surface with essential components to identify issues without the case.
How do I know if my motherboard is receiving power?
Perform a power supply test by connecting the power supply to the motherboard. If the motherboard’s LED lights up, it indicates that power is being received.
What are common signs of a faulty motherboard?
Common signs include system instability, frequent crashes, and failure to boot. Additionally, visual cues like burnt areas or damaged components can indicate motherboard issues.


1 Comment
Frequent Upkeep Averts Expensive Fixes
Routine roofing care can prevent extensive and expensive fixes when left unattended for extended times. Minor problems like seepages, breaks, or lost slates can develop into significant problems if ignored. Property owners should plan regular checks with licensed roofing contractors to identify any problems quickly and address them prior to they grow costly hassles. Keeping roofing in excellent state can extend its longevity and conserve residents expenses over time.
In order to illustrate An inhabitant observes a small leak in their covering and calls a licensed contractor to examine. The professional discovers multiple problems that could have resulted in major harm if left unattended. Addressing these problems early conserves the homeowner a significant amount of money in future fixes.
For example An resident arranges annual inspections for their roof. In one of these checks, the expert identifies initial indicators of wear. Routine upkeep carried out quickly prolongs the longevity of the covering and avoids expensive repairs in the future.
[url=https://portcityexteriors.com/cedar-shake-roofing/]Urgent roof assistance by Carolina Beach North Carolina[/url]
[url=http://ifiwrotespiderman4.com/]Protecting Your Roof from Extreme Conditions[/url] 90c06_4