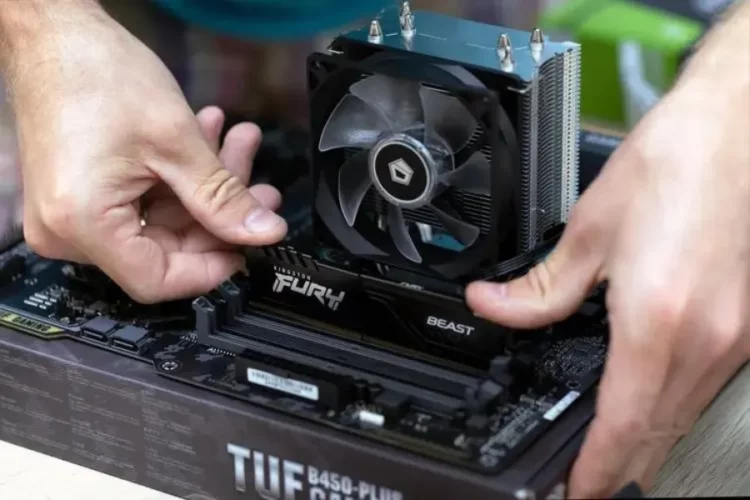
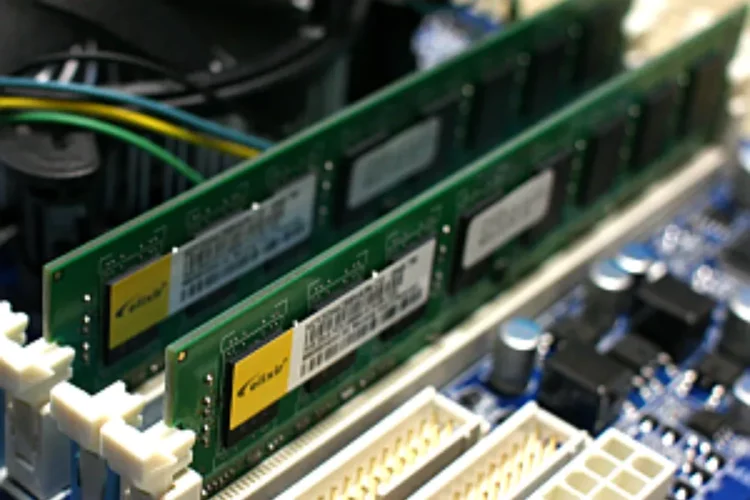
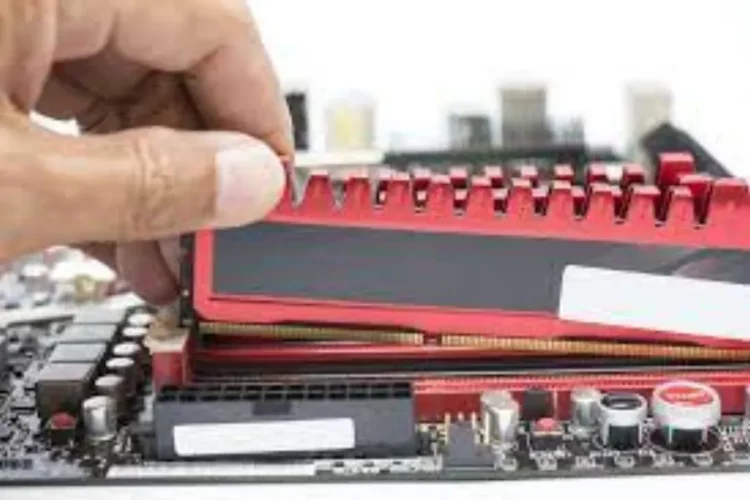
In the intricate world of computer hardware upgrades, few components hold the power to transform your system’s performance like Random Access Memory (RAM). As we embark on the journey of enhancing your computer’s capabilities, let’s delve into the critical steps that precede the installation of RAM onto the motherboard. From choosing the right RAM to understanding your motherboard’s capacity, this guide will equip you with the knowledge needed to optimize your system.
What Should Be Done Prior to the Installation of RAM onto the Motherboard?
Before you dive into the exciting world of upgrading your computer’s RAM, there are several crucial steps to ensure a seamless installation process.

1) Clear Workspace and Ground Yourself
Creating an electrostatic discharge (ESD)-safe environment is paramount. Clear your workspace, use an ESD strap, and ground yourself to prevent damage to sensitive components.
2) Gather Necessary Tools
Ensure you have all the tools required for the installation, including your new RAM modules, a screwdriver, and any additional equipment specified in your motherboard’s manual.
3) Back Up Your Data
Though RAM installation is unlikely to affect your data, it’s always wise to back up important files as a precautionary measure.
Related Article: How Much RAM Do I Need for Mining?
How to Choose the Correct RAM for Your Motherboard?
Now that we’ve set the stage, let’s explore the critical aspect of choosing the right RAM for your motherboard.

1) Compatibility Matters
Not all RAM modules are created equal. Check your motherboard’s manual for supported RAM types and configurations. Compatibility ensures optimal performance.
2) DDR Types and Speeds
Understand the nuances of DDR types and their speeds. Matching the RAM type to your motherboard’s specifications is crucial for a harmonious integration.
3) ECC vs. Non-ECC RAM
Delve into the world of Error-Correcting Code (ECC) RAM and Non-ECC RAM. Your choice depends on your specific needs and motherboard compatibility.
How Much RAM Can Your Motherboard Handle?
The next step involves understanding your motherboard’s maximum RAM capacit

1) Consult the Motherboard Manual
Your motherboard’s manual is a treasure trove of information. Find the section detailing RAM specifications, including the maximum supported cap
2) Online Tools for Quick Information
If your manual is MIA, explore online tools like CPU-Z and Speccy for a quick rundown of your motherboard’s capabilities.
How to Check Your Current RAM?
Before making any upgrades, it’s essential to know your system’s current RAM configuration.
- Windows Users: Task Manager: For Windows users, navigate to Task Manager to find information about your current RAM setup.
- macOS Users: Activity Monitor: If you’re on a Mac, use the Activity Monitor to get insights into your existing RAM configuration.
What Are the Steps for Installing RAM?
Now that you’re armed with information, let’s walk through the step-by-step process of installing RAM on your motherboard.
1) Pre-Installation Considerations
Take precautions to prevent static electricity damage. Ensure your computer is powered off and disconnected from any power source.
2) Tools and Equipment You’ll Need
Gather your RAM modules and any necessary tools. Position yourself in a well-lit, static-free workspace.
3) Step-by-Step Installation Guide
Follow a detailed guide covering each step of the installation process, from opening retention clips to powering on your computer and verifying recognition.
Can RAM Be Installed on Any Motherboard?
Addressing common misconceptions and exploring the factors that influence RAM installation.
1) Factors to Consider
Understand the variables affecting RAM installation, including motherboard specifications and compatibility.
2) RAM Types and Motherboard Compatibility
Explore the correlation between RAM types (DDR, DDR2, DDR3, DDR4) and motherboard compatibility. Ensure a match for optimal performance.
3) Debunking Common Myths
Dispel misconceptions surrounding RAM installation, ensuring you have accurate information for a successful upgrade.
Check your motherboard’s manual for the maximum supported RAM capacity. Online tools like CPU-Z and Speccy can also provide this information.
Mixing different types of RAM is generally not recommended. Stick to the same type, speed, and capacity for optimal performance.
While exceeding your motherboard’s limit won’t harm your system, it won’t improve performance beyond that limit.
RAM allows quick access to data, enhancing multitasking capabilities and overall system speed.
Yes, the process is similar for desktop and laptop motherboards. Refer to your laptop’s manual for specific instructions.
No, motherboard RAM compatibility varies. Always refer to your motherboard’s manual for accurate information.
